
Cultivation Process
Blooming
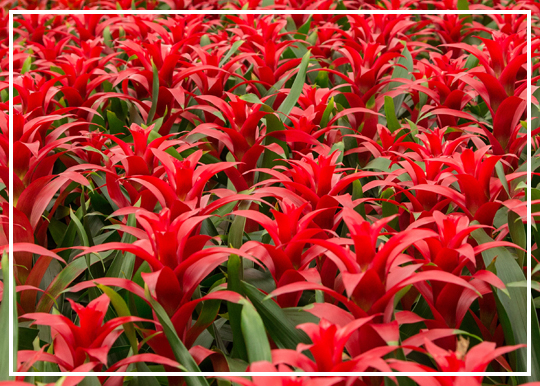
Bromeliads take an astounding array of shapes and colors. Some may remain tucked inside a rosette of leaves, while others grow beautiful plumage.
Light, time and water are some of the important factors contributing to a bromeliad bloom. Temperature is also an important variable. Since bromeliads are a tropical plant, they require an environment of 50 degrees Fahrenheit or warmer.
Aechmeas, Guzmanias, Neoregelias, Tillandsias and Vrieseas bloom naturally during the spring, summer and fall. It is possible to prematurely force a bloom by exposing bromeliads to ethylene gas, a natural byproduct of decomposing organic matter.
PROPAGATION
When an offset, or “pup,” has sprouted from the base of the original bromeliad, or “mother” plant, they can easily be asexually propagated. Pups emerge from the soil near the edge of the pot and should be allowed to grow until they are one-third to one-half the size of the mother plant and have several leaves sprouting. Once a pup has been propagated, you will see a new, mature plant in less than nine months.
To propagate, you will need a second pot, clippers and a light, well-draining mix. A standard mix consists of mulch/pine bark nuggets, wood chips or perlite (a quarter to an eighth of an inch diameter) and composted peat or professional potting mix (soil-less mix).
- Remove the mother plant and pup from the original container.
- Gently pull the soil away, exposing the area where the mother plant and pup are joined.
- The pup may or may not have its own root system. If necessary, pull additional soil away so you have a clear view of the base of both plants.
- Most of the time, the pup can be pulled off the mother plant without the use of clippers. If it resists, a firm but gentle tug will suffice. Make a cut on the pup near the base of the mother plant if required.
- Replant the mother plant immediately.
- Before planting the bromeliad pup, let it sit in the shade for at least a day. This allows the area that has been pulled or cut away from the mother plant to callous, preventing soil-borne diseases from entering through the soft tissue. Plant the pup once it has settled, using the recommended mixture. Gently press down on the soil around the base of the pup.
- Care for the young plant just as you would a mature bromeliad.